#001 Smart Lamps
last updated: 9/16/23
Junior year of college I had my own room at school - before then I had a roommate. Of course the actual lights were coarse and too bright for a relaxing evening or an early dark morning. I figured that some old overhead light diffuser + an ESP MCU + some WS2812b RGB individually addressable LEDs would make an awesome smart lamp for my new room.
I harvested the diffuser material from some trashed overhead LED lights. It cut great on the laser cutter. (If this produced toxic fumes, don't tell me, I am content not knowing 😀). The LEDs I had lying around from another project. ESP modules are 5 bucks on the internet.
Software
The software was the fun part of this project. I proudly did the entire software in one day, including the front end clients and ESP clients. Admittedly I had been researching technologies I would base the project on for a while (which of course is half the battle) so I knew I would use sveltekit + firebase, but still.
Front End
- SvelteKit + Svelte
- Typescript (Obviously)
- Picocss
- Vercel
The firebase data is organized so that lamps are stored with their MAC address as the key. The UI iterates over all lamps, and the lamps themselves can simply subscribe to lamps/[their mac]. I used this awesome library to listen to changes for lamp settings. The colors update within 200 or 300 ms as far as I can tell. Up to standards. When the lamps boot up they check for a ref at lamps/[their mac] and if it exists they subscribe to it. If it doesn't exist they create an entry with their mac and the name 'New Lamp'. This is actually really nice: when a lamp you have never powered on connects, it automatically shows up on the list, and you can then rename it. Since I store by mac there is no configuration or need for a hard coded name to be stored on the ESP's themselves, so the firmware is identical between lamps.
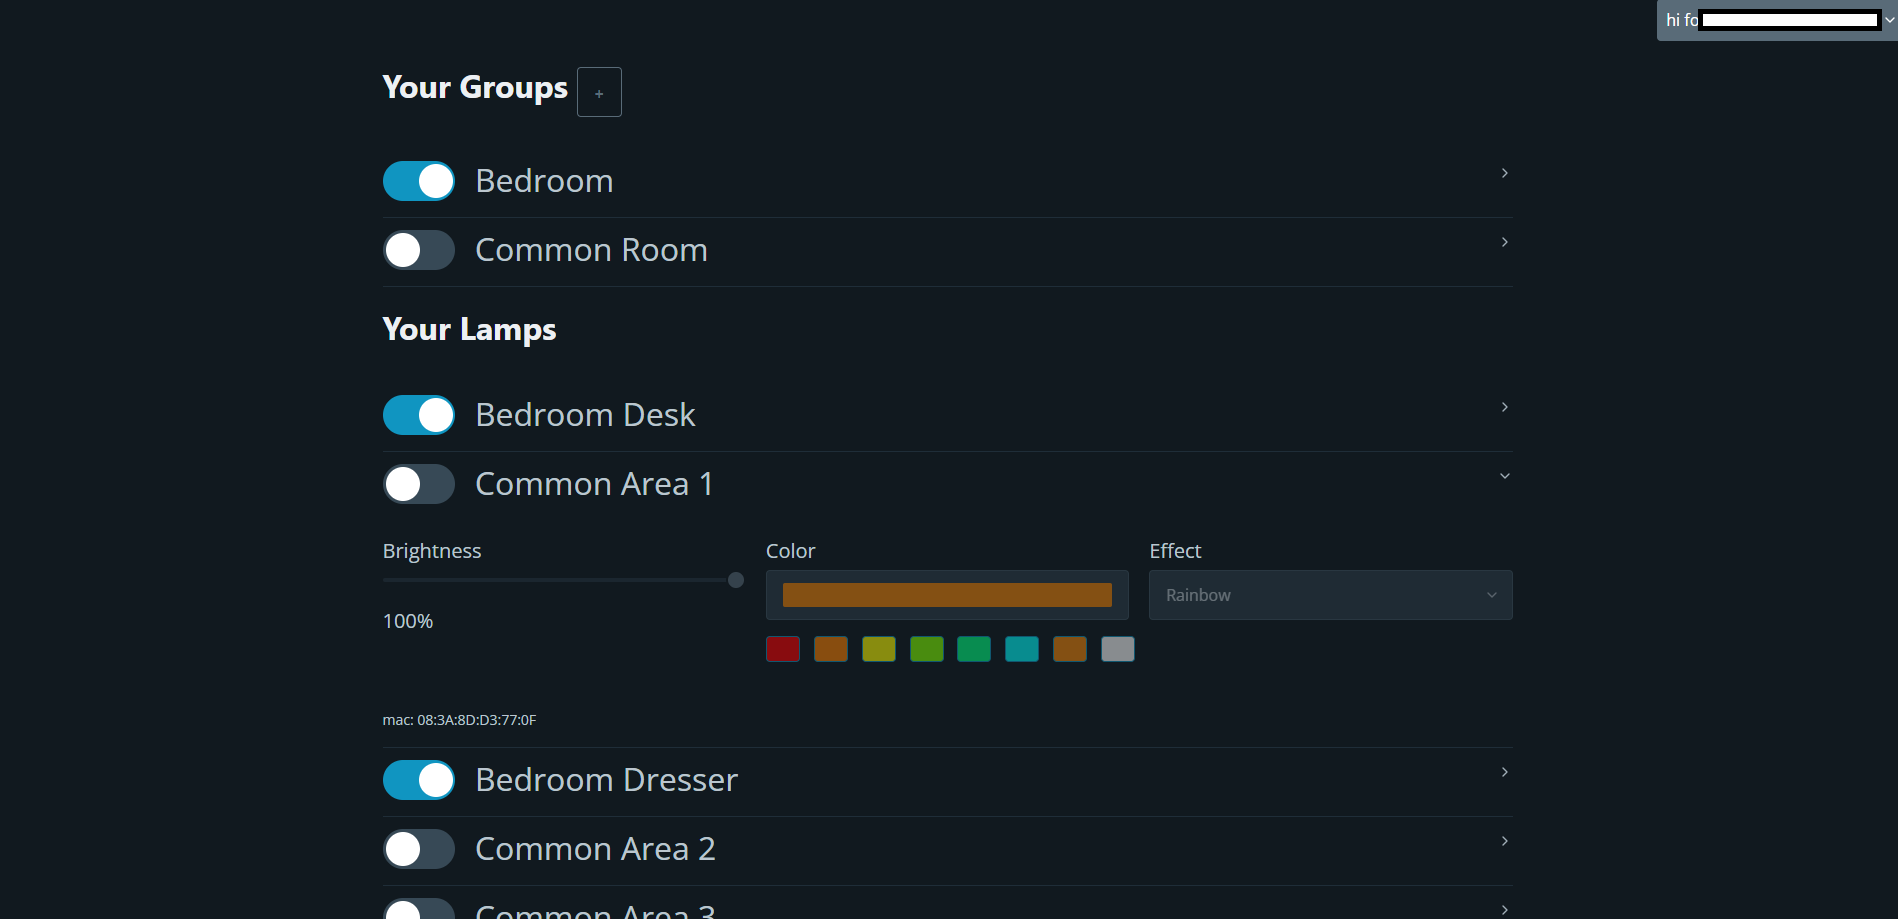
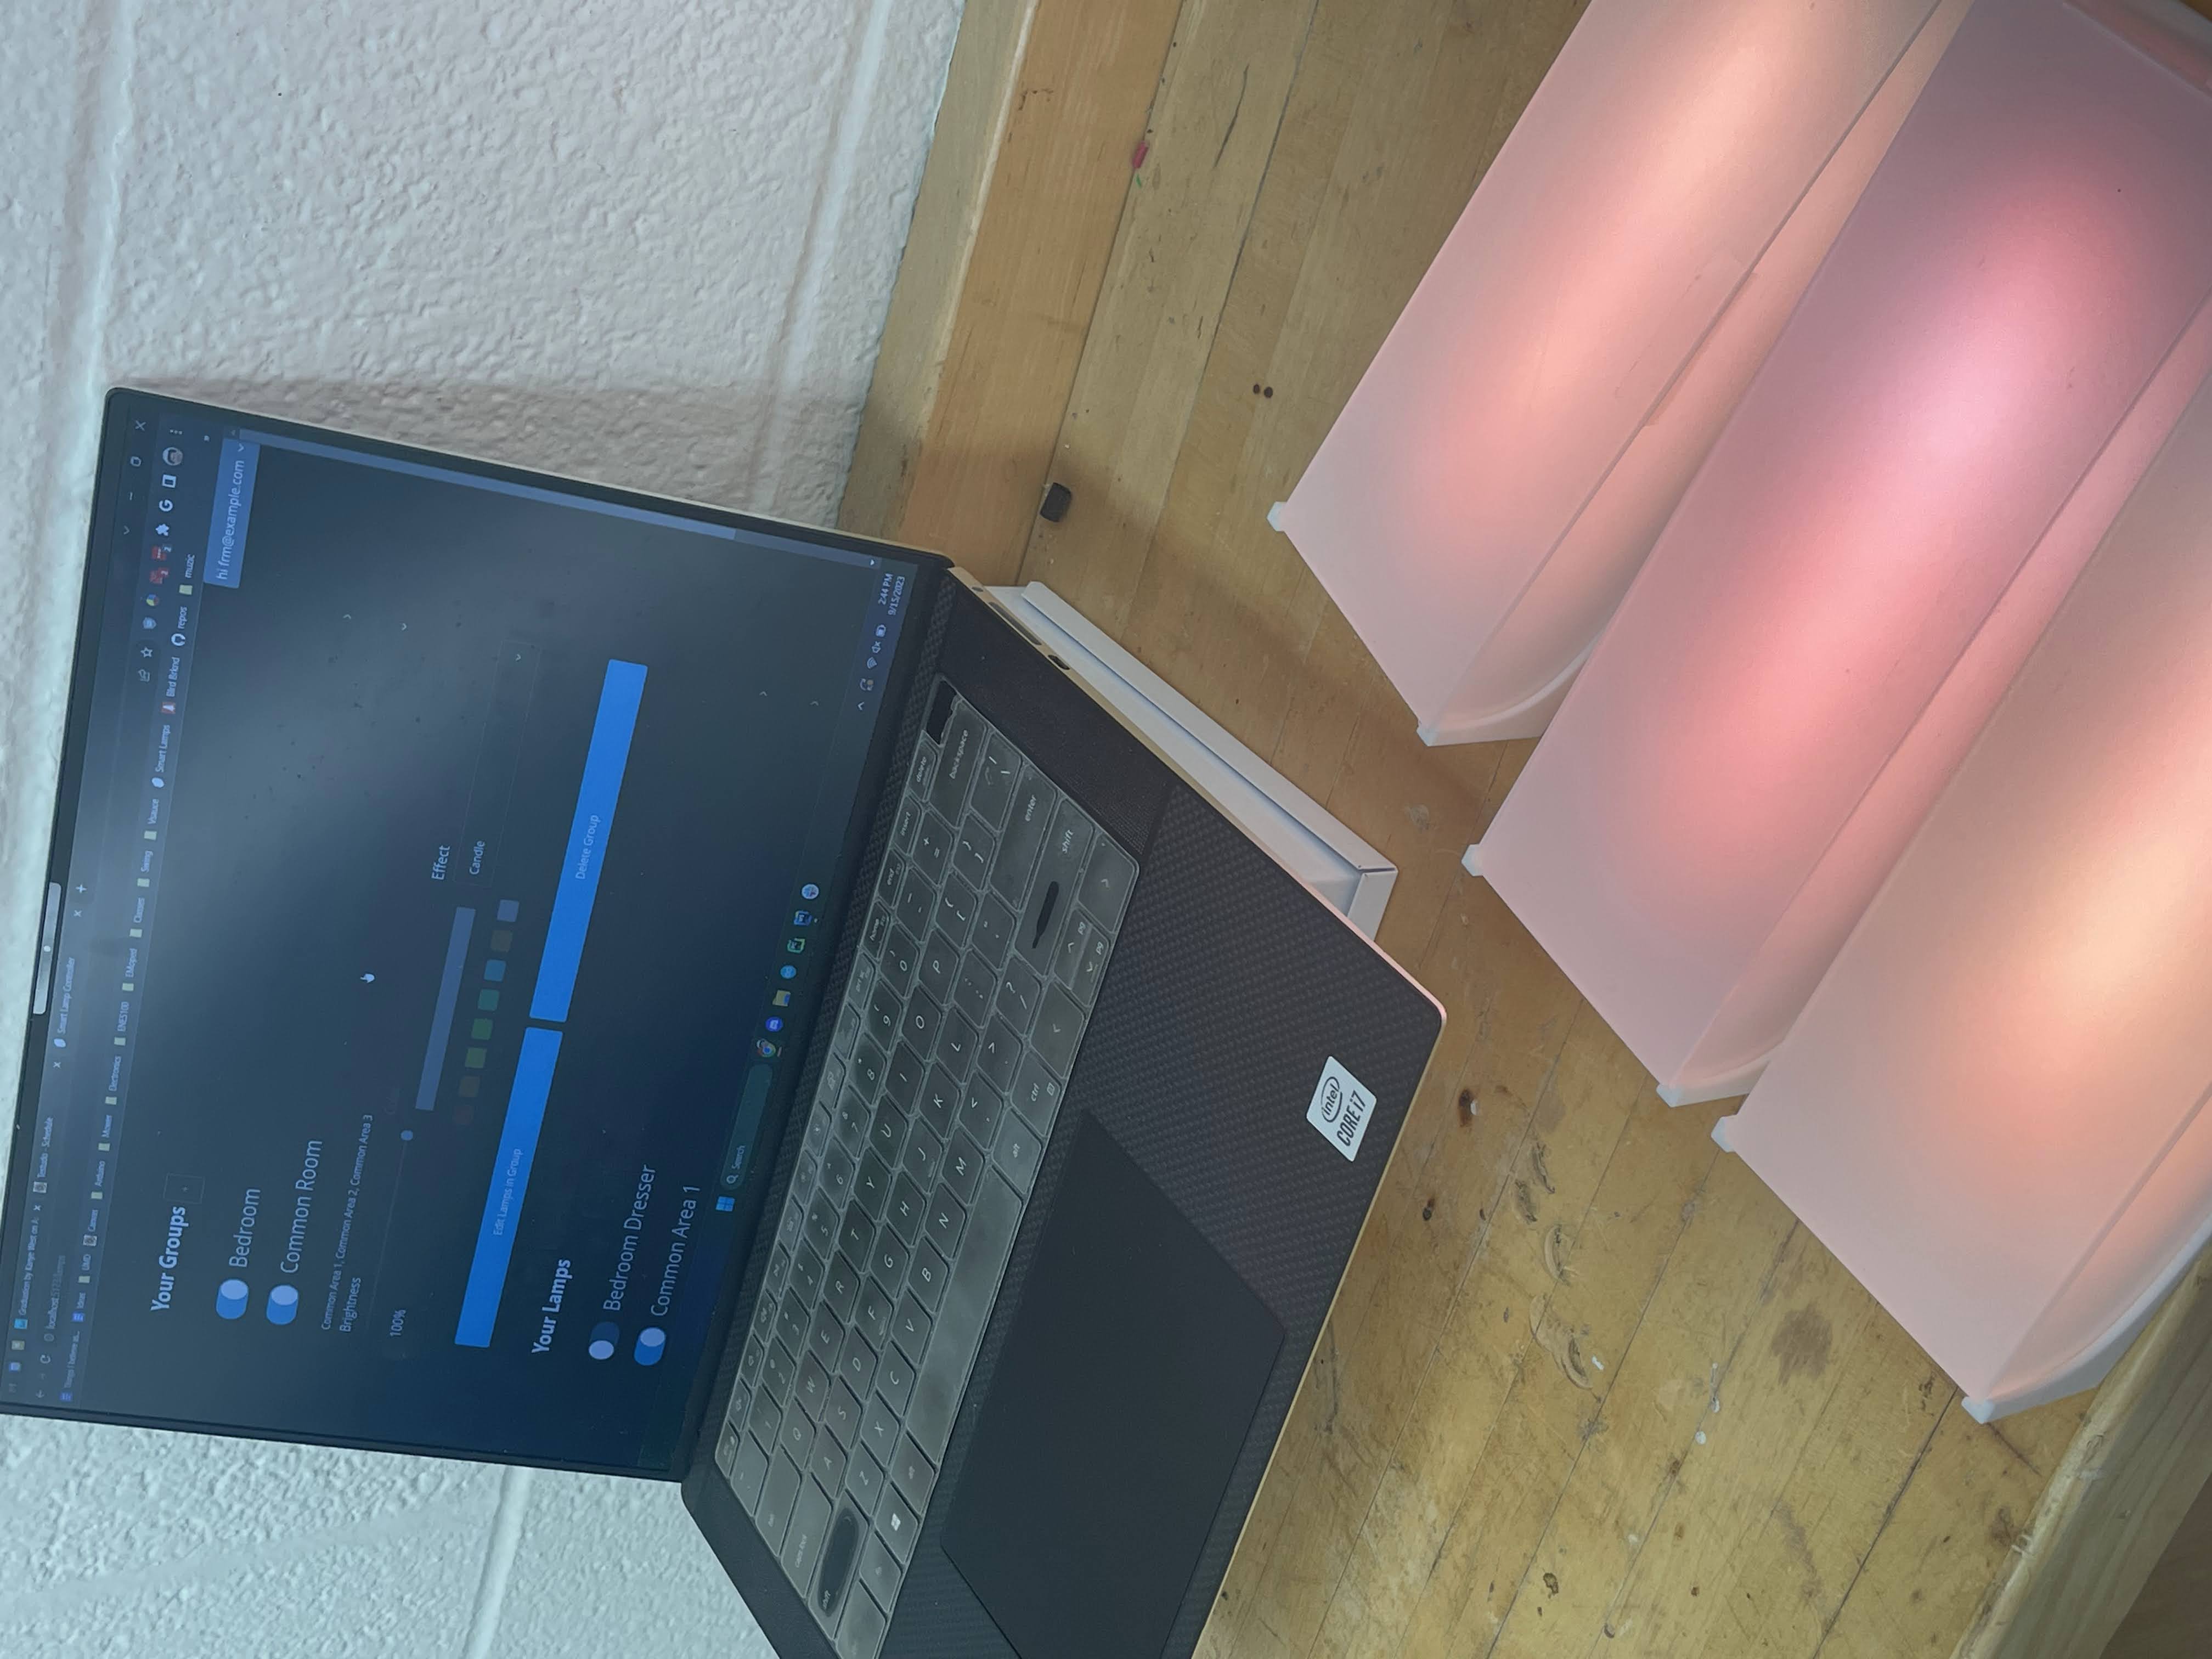
The front end was a page on my personal website, which is a sveltekit project served on the edge with Vercel. I used existing authentication to authenticate users - only certain users can go to the lamps page. The program relies around a 'storelink' which is what I call a Svelte store bound to a Firestore Realtime Database ref value. The main 'storelink' is a obviously the lamps, which are then displayed. From there it is easy to have inputs bound to the store, and of course the store updates the database in real time.
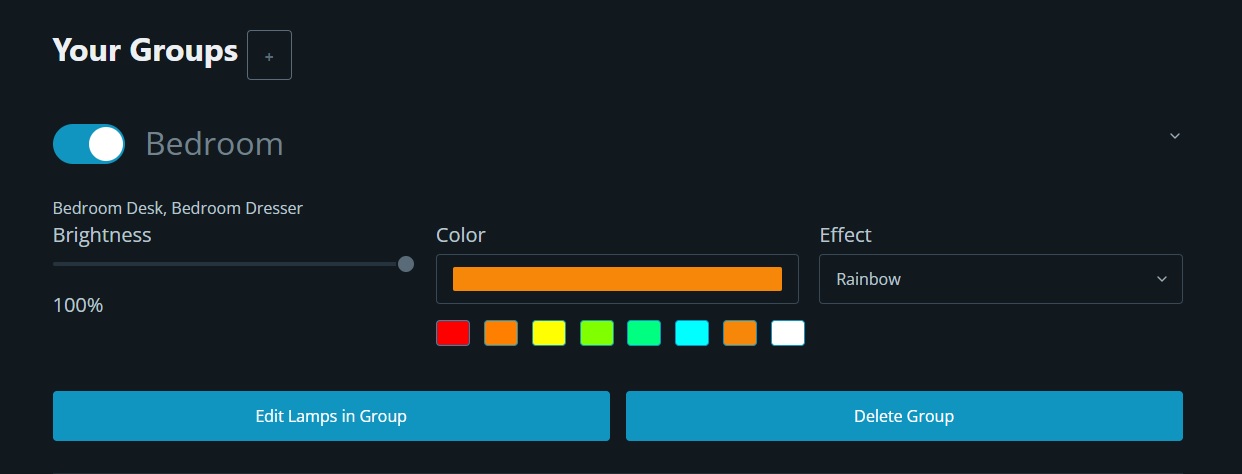
Lamp Groups
Lamps are often in a room together with other lamps - for this reason I created lamp groups. Lamp groups allow you to set a group of lamps to a certain configuration at the same time. For example, the lamp above my desk and the one above my dresser are in my "Bedroom" group.
Hardware
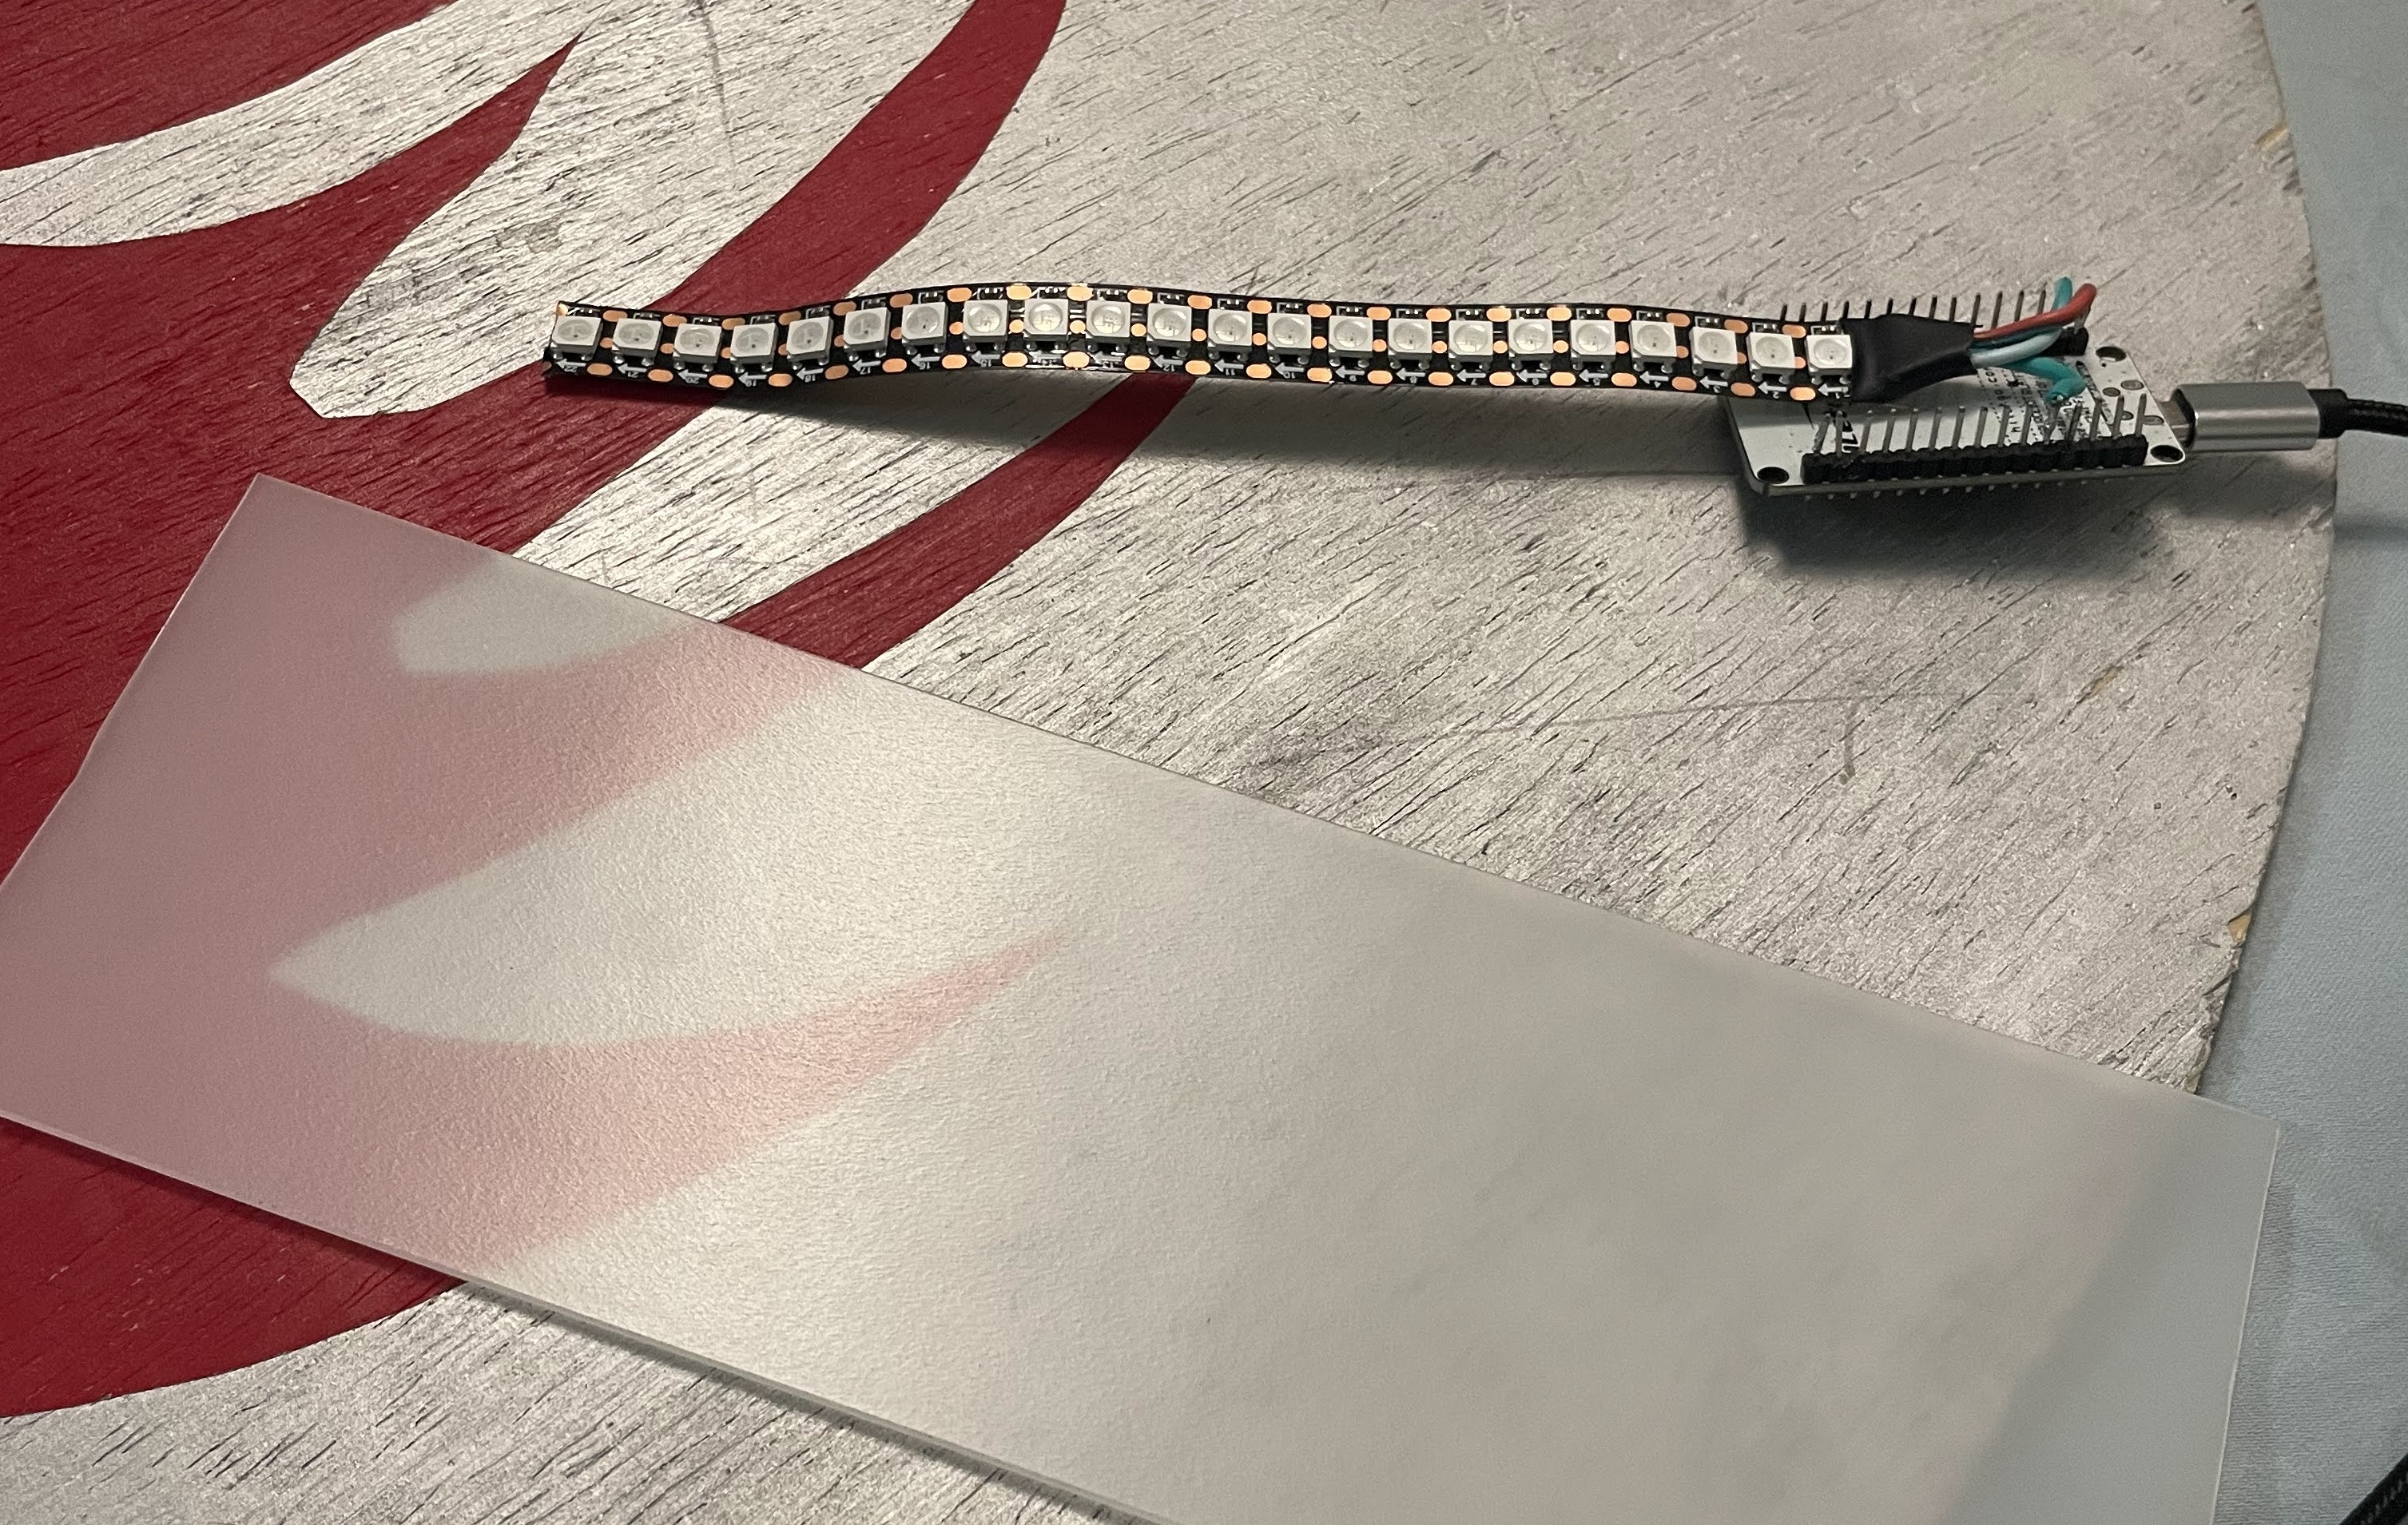
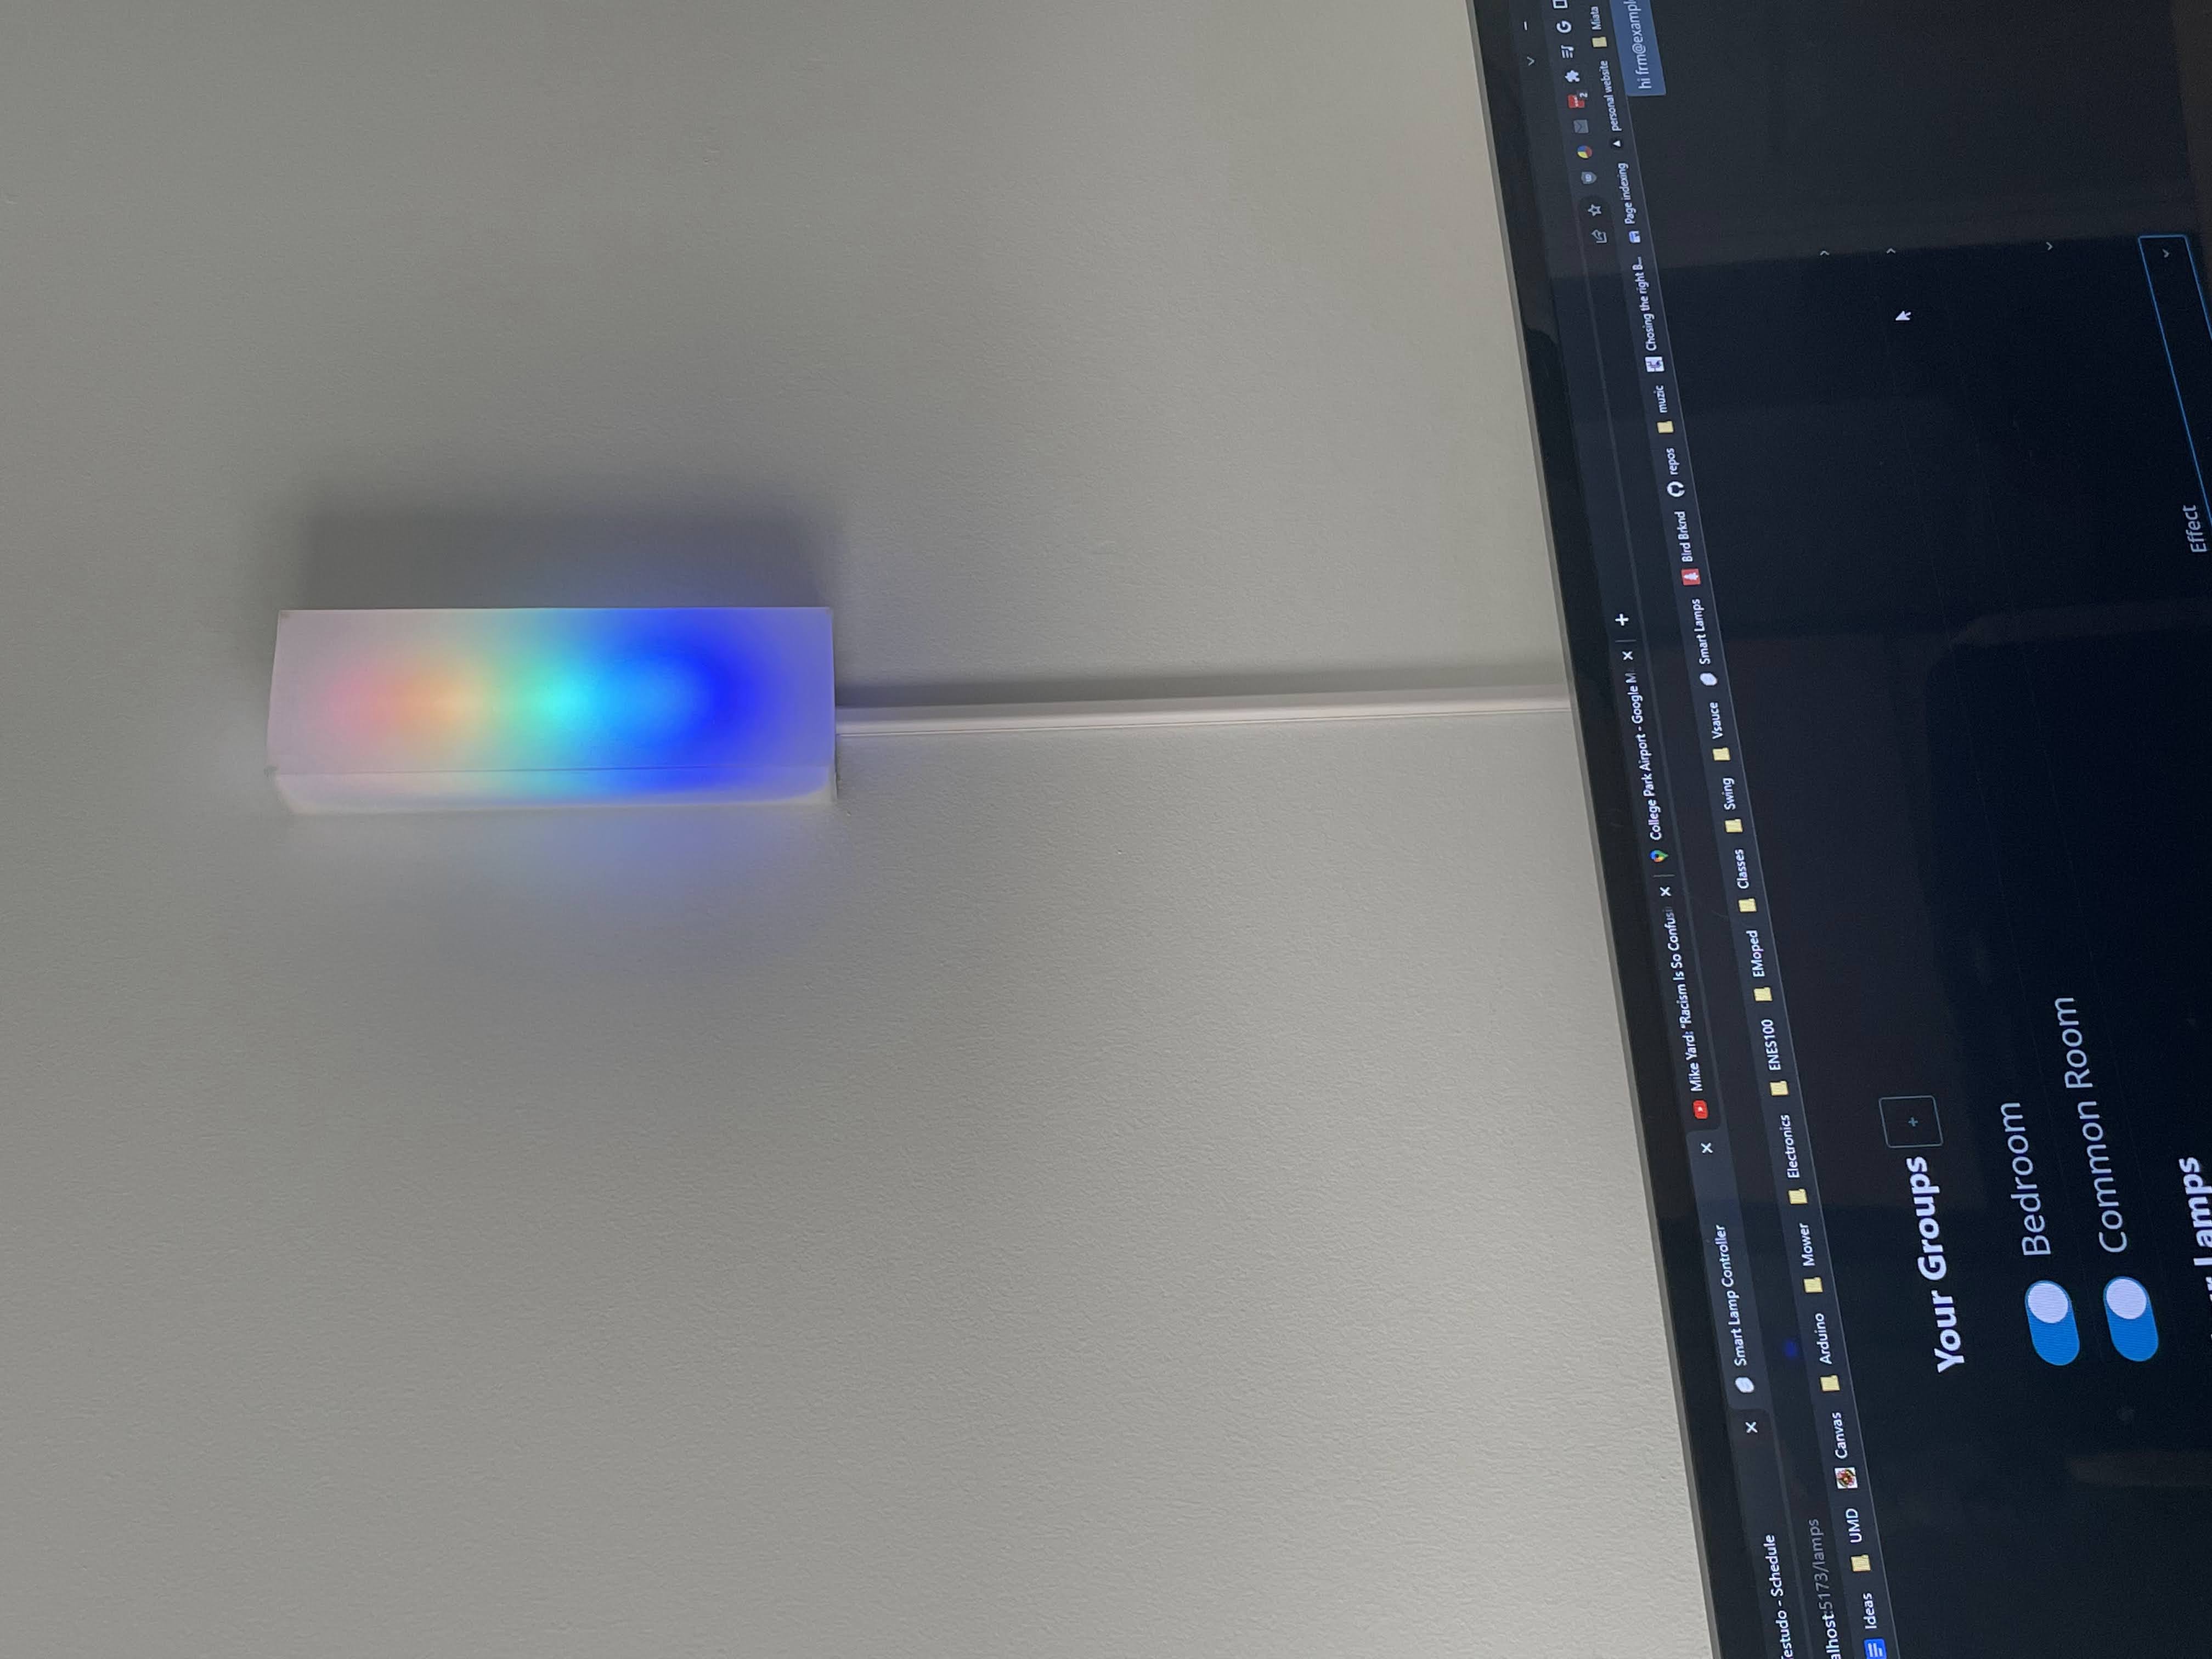
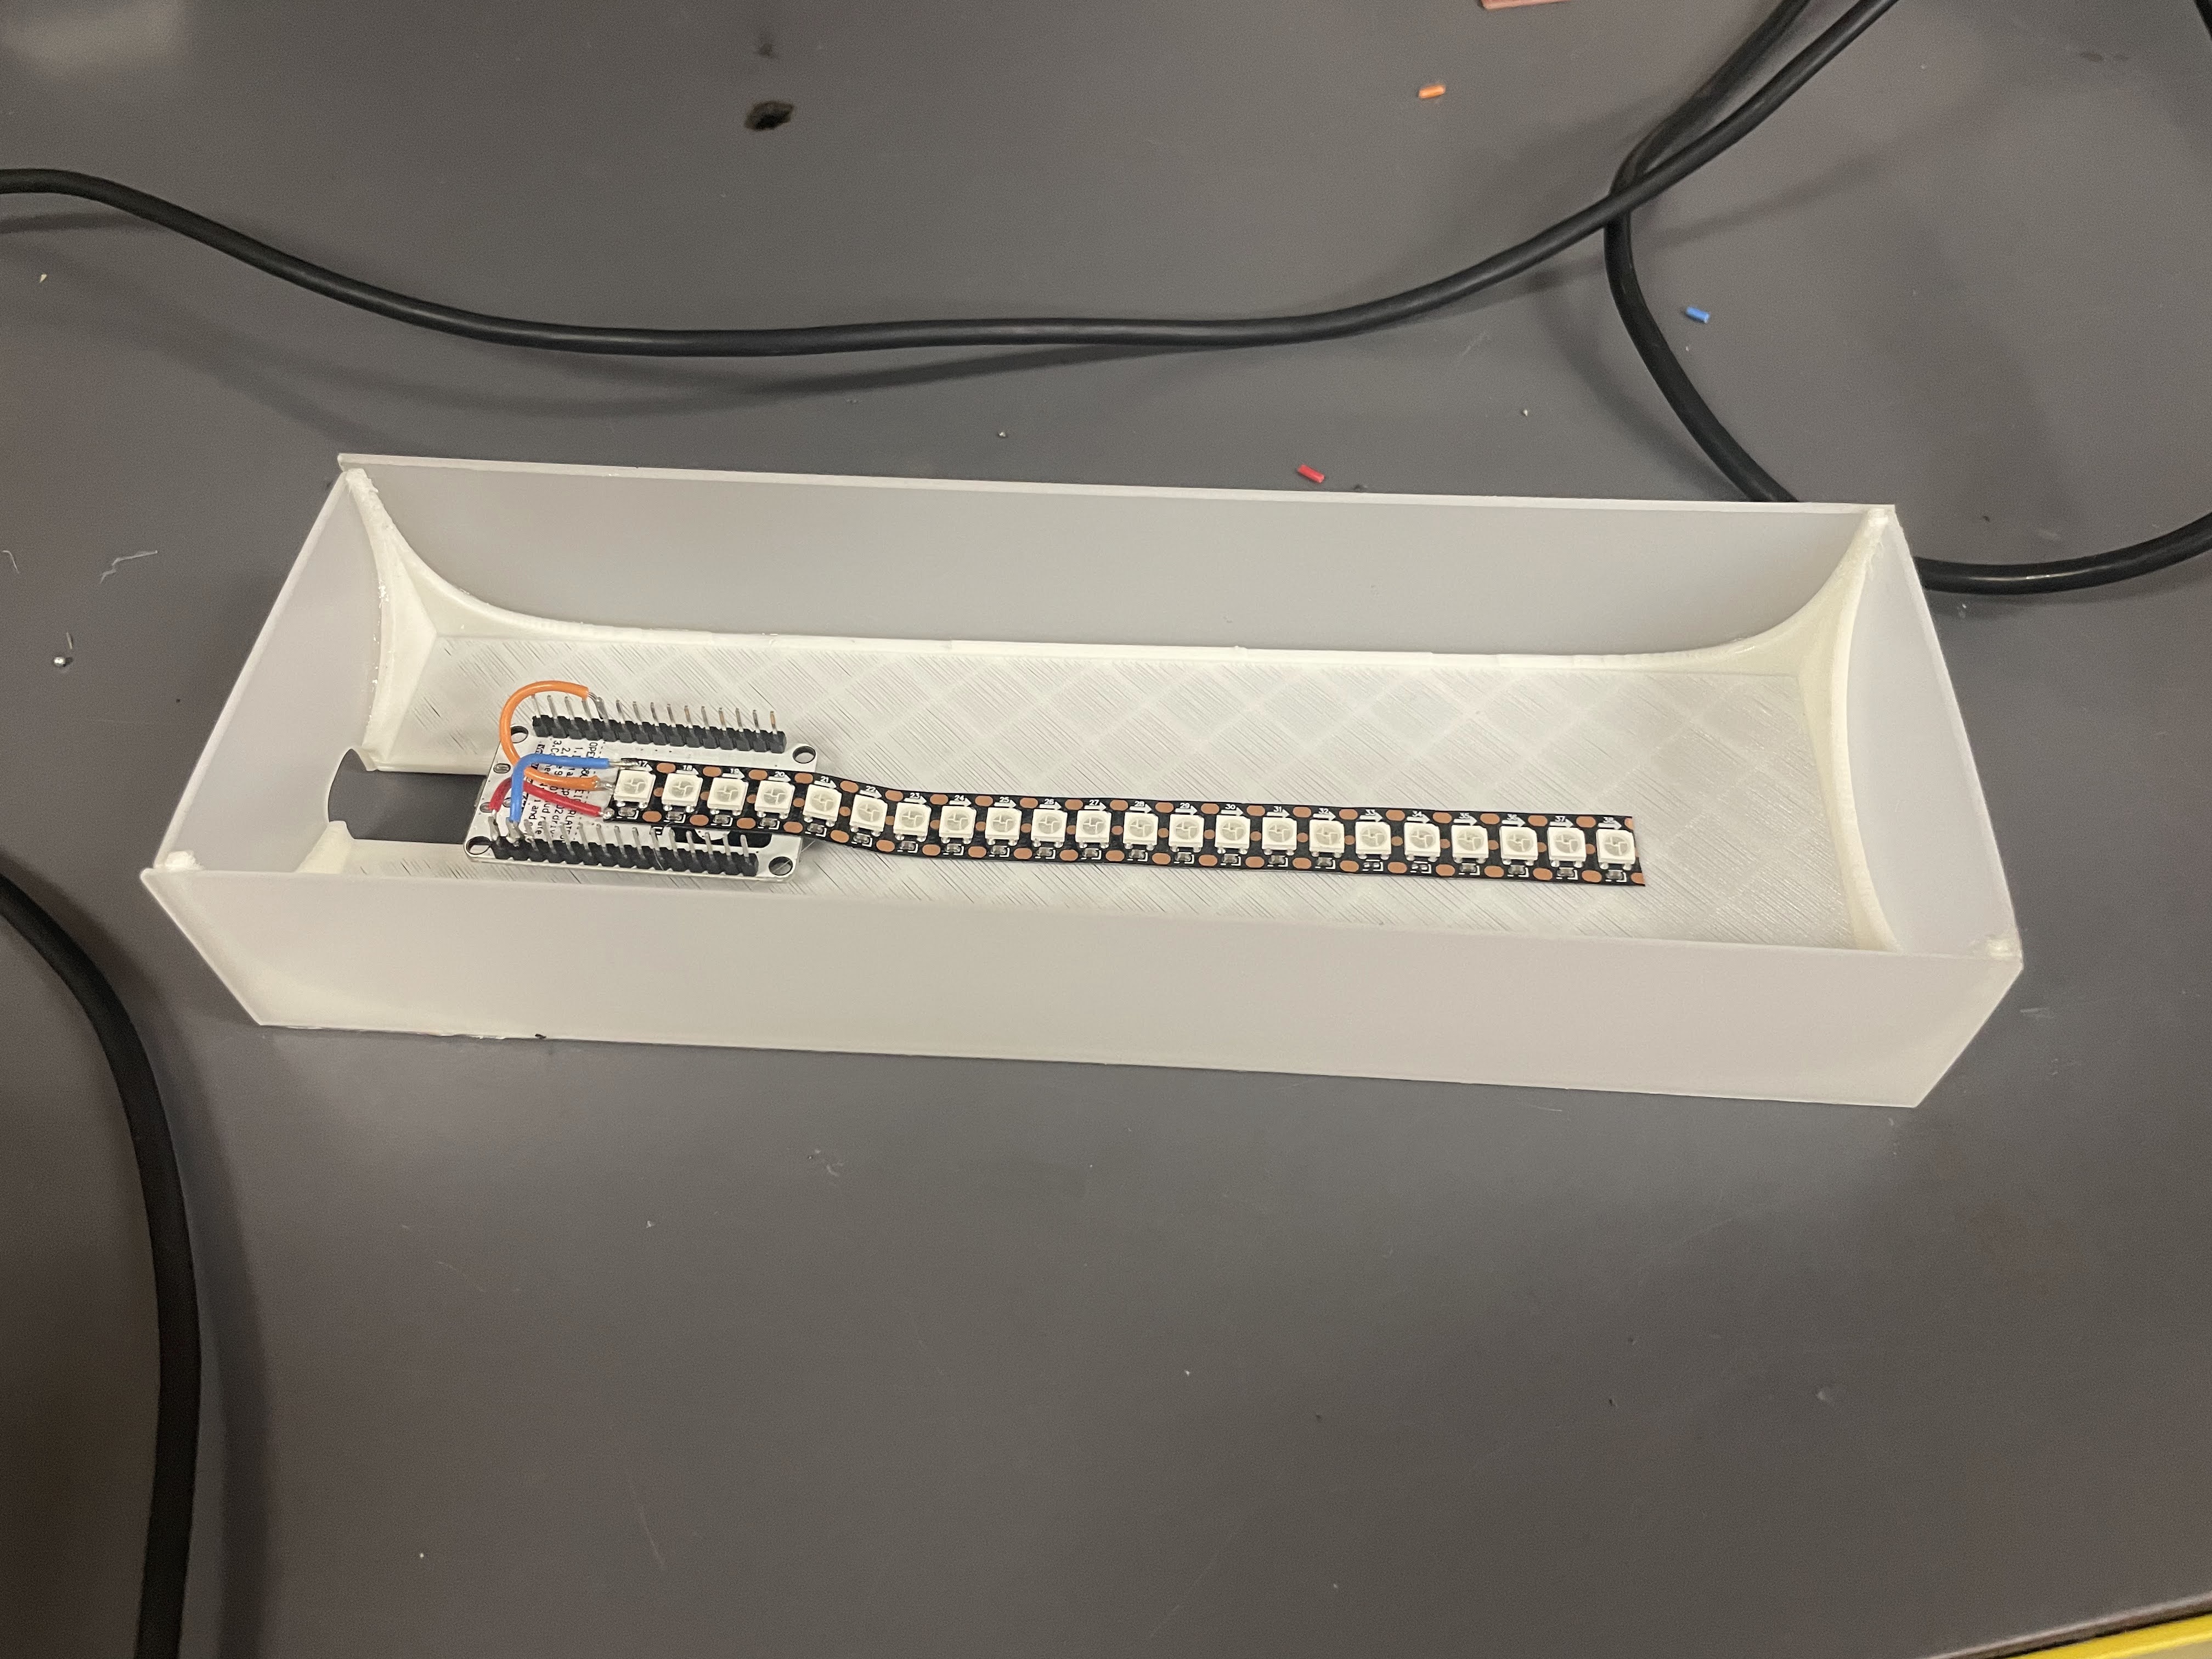
Each lamp is constructed with an ESP wifi module, ESP8266's work; I used what I had lying around. The LEDs are WS2812B leds with a very low spacing.
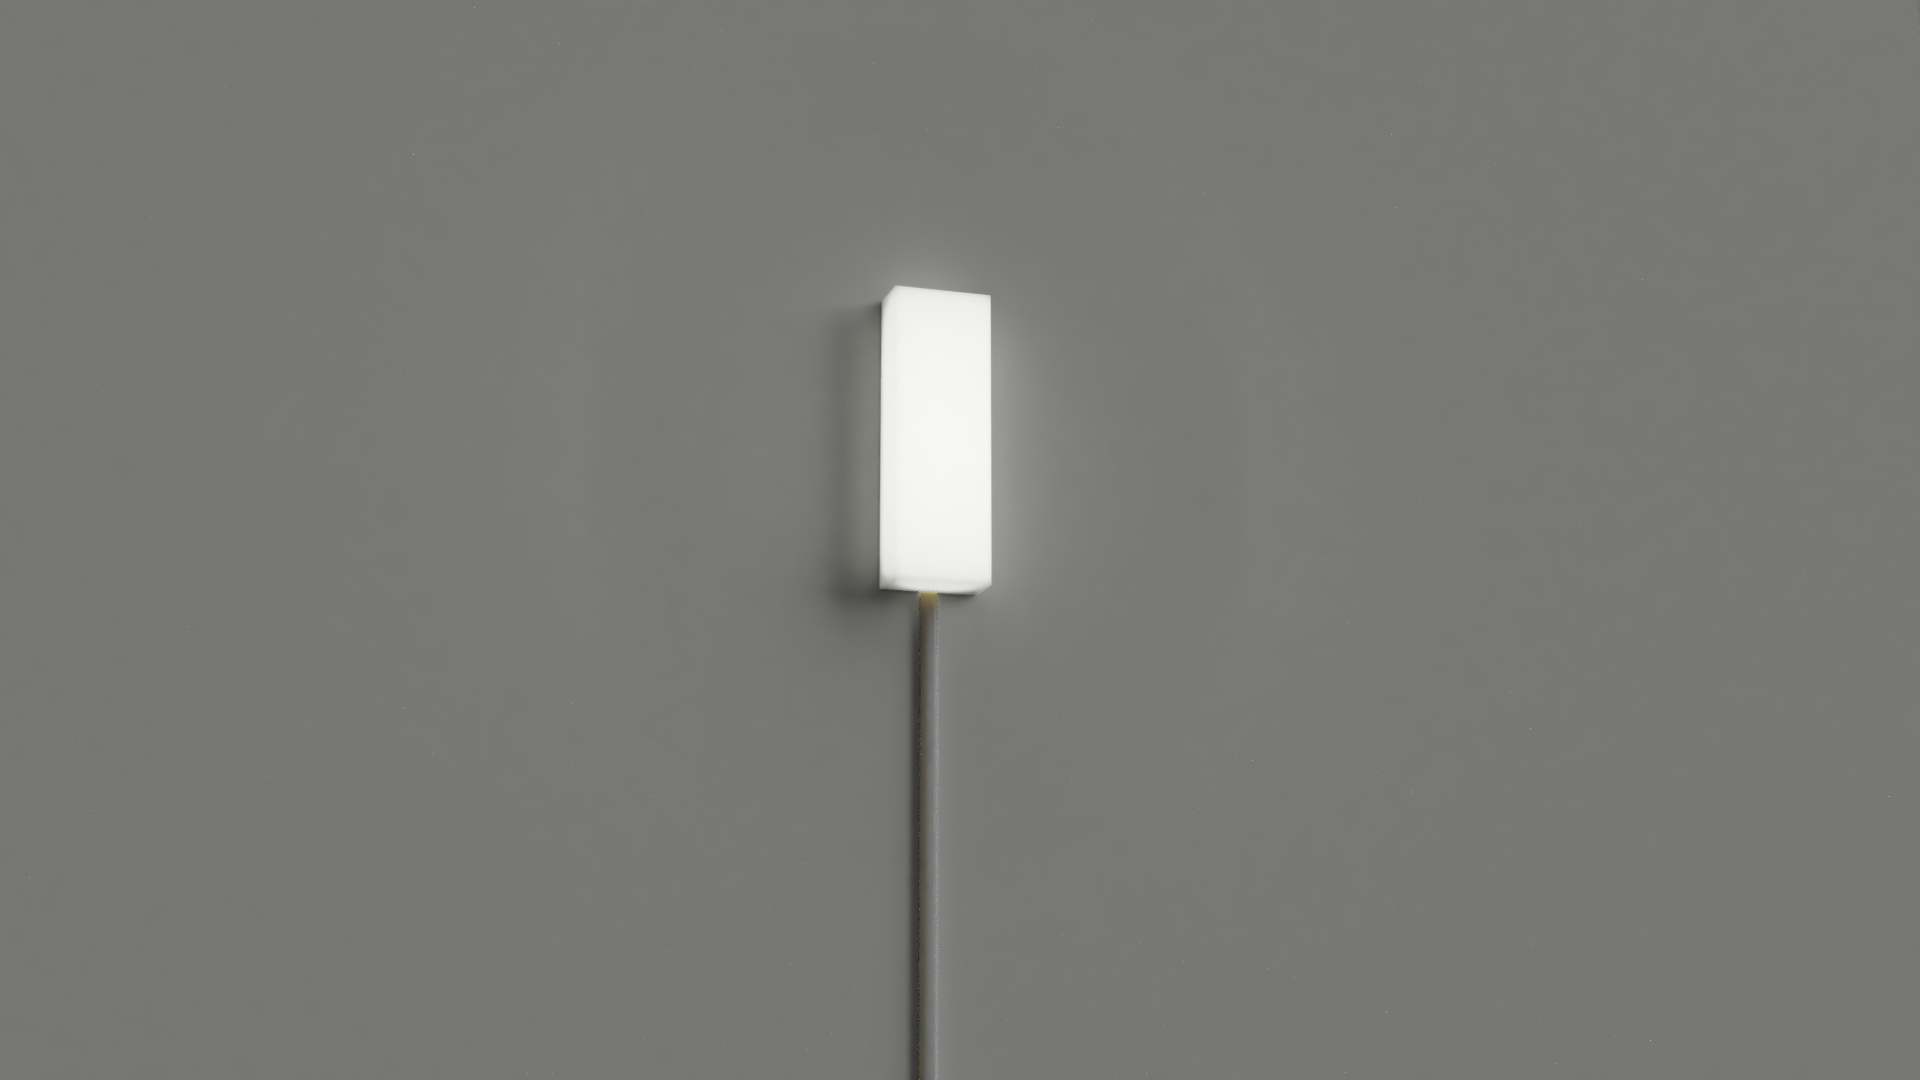
The diffuser was very thin but worked well. The box itself is 1.5 inches thick and 3 inches wide. It is 9 inches tall. It was actually quite easy to slide the diffuser material out of the old overhead LEDs. This was totally the way to go for me on this project - I shopped for a while to find a diffusing plastic only to use ones that were in our 'trash pile' at home. It didn't take long to make a pattern in Fusion and make a template to laser cut the plastic. It cut with one pass on the laser cutter I have access to - super easy.
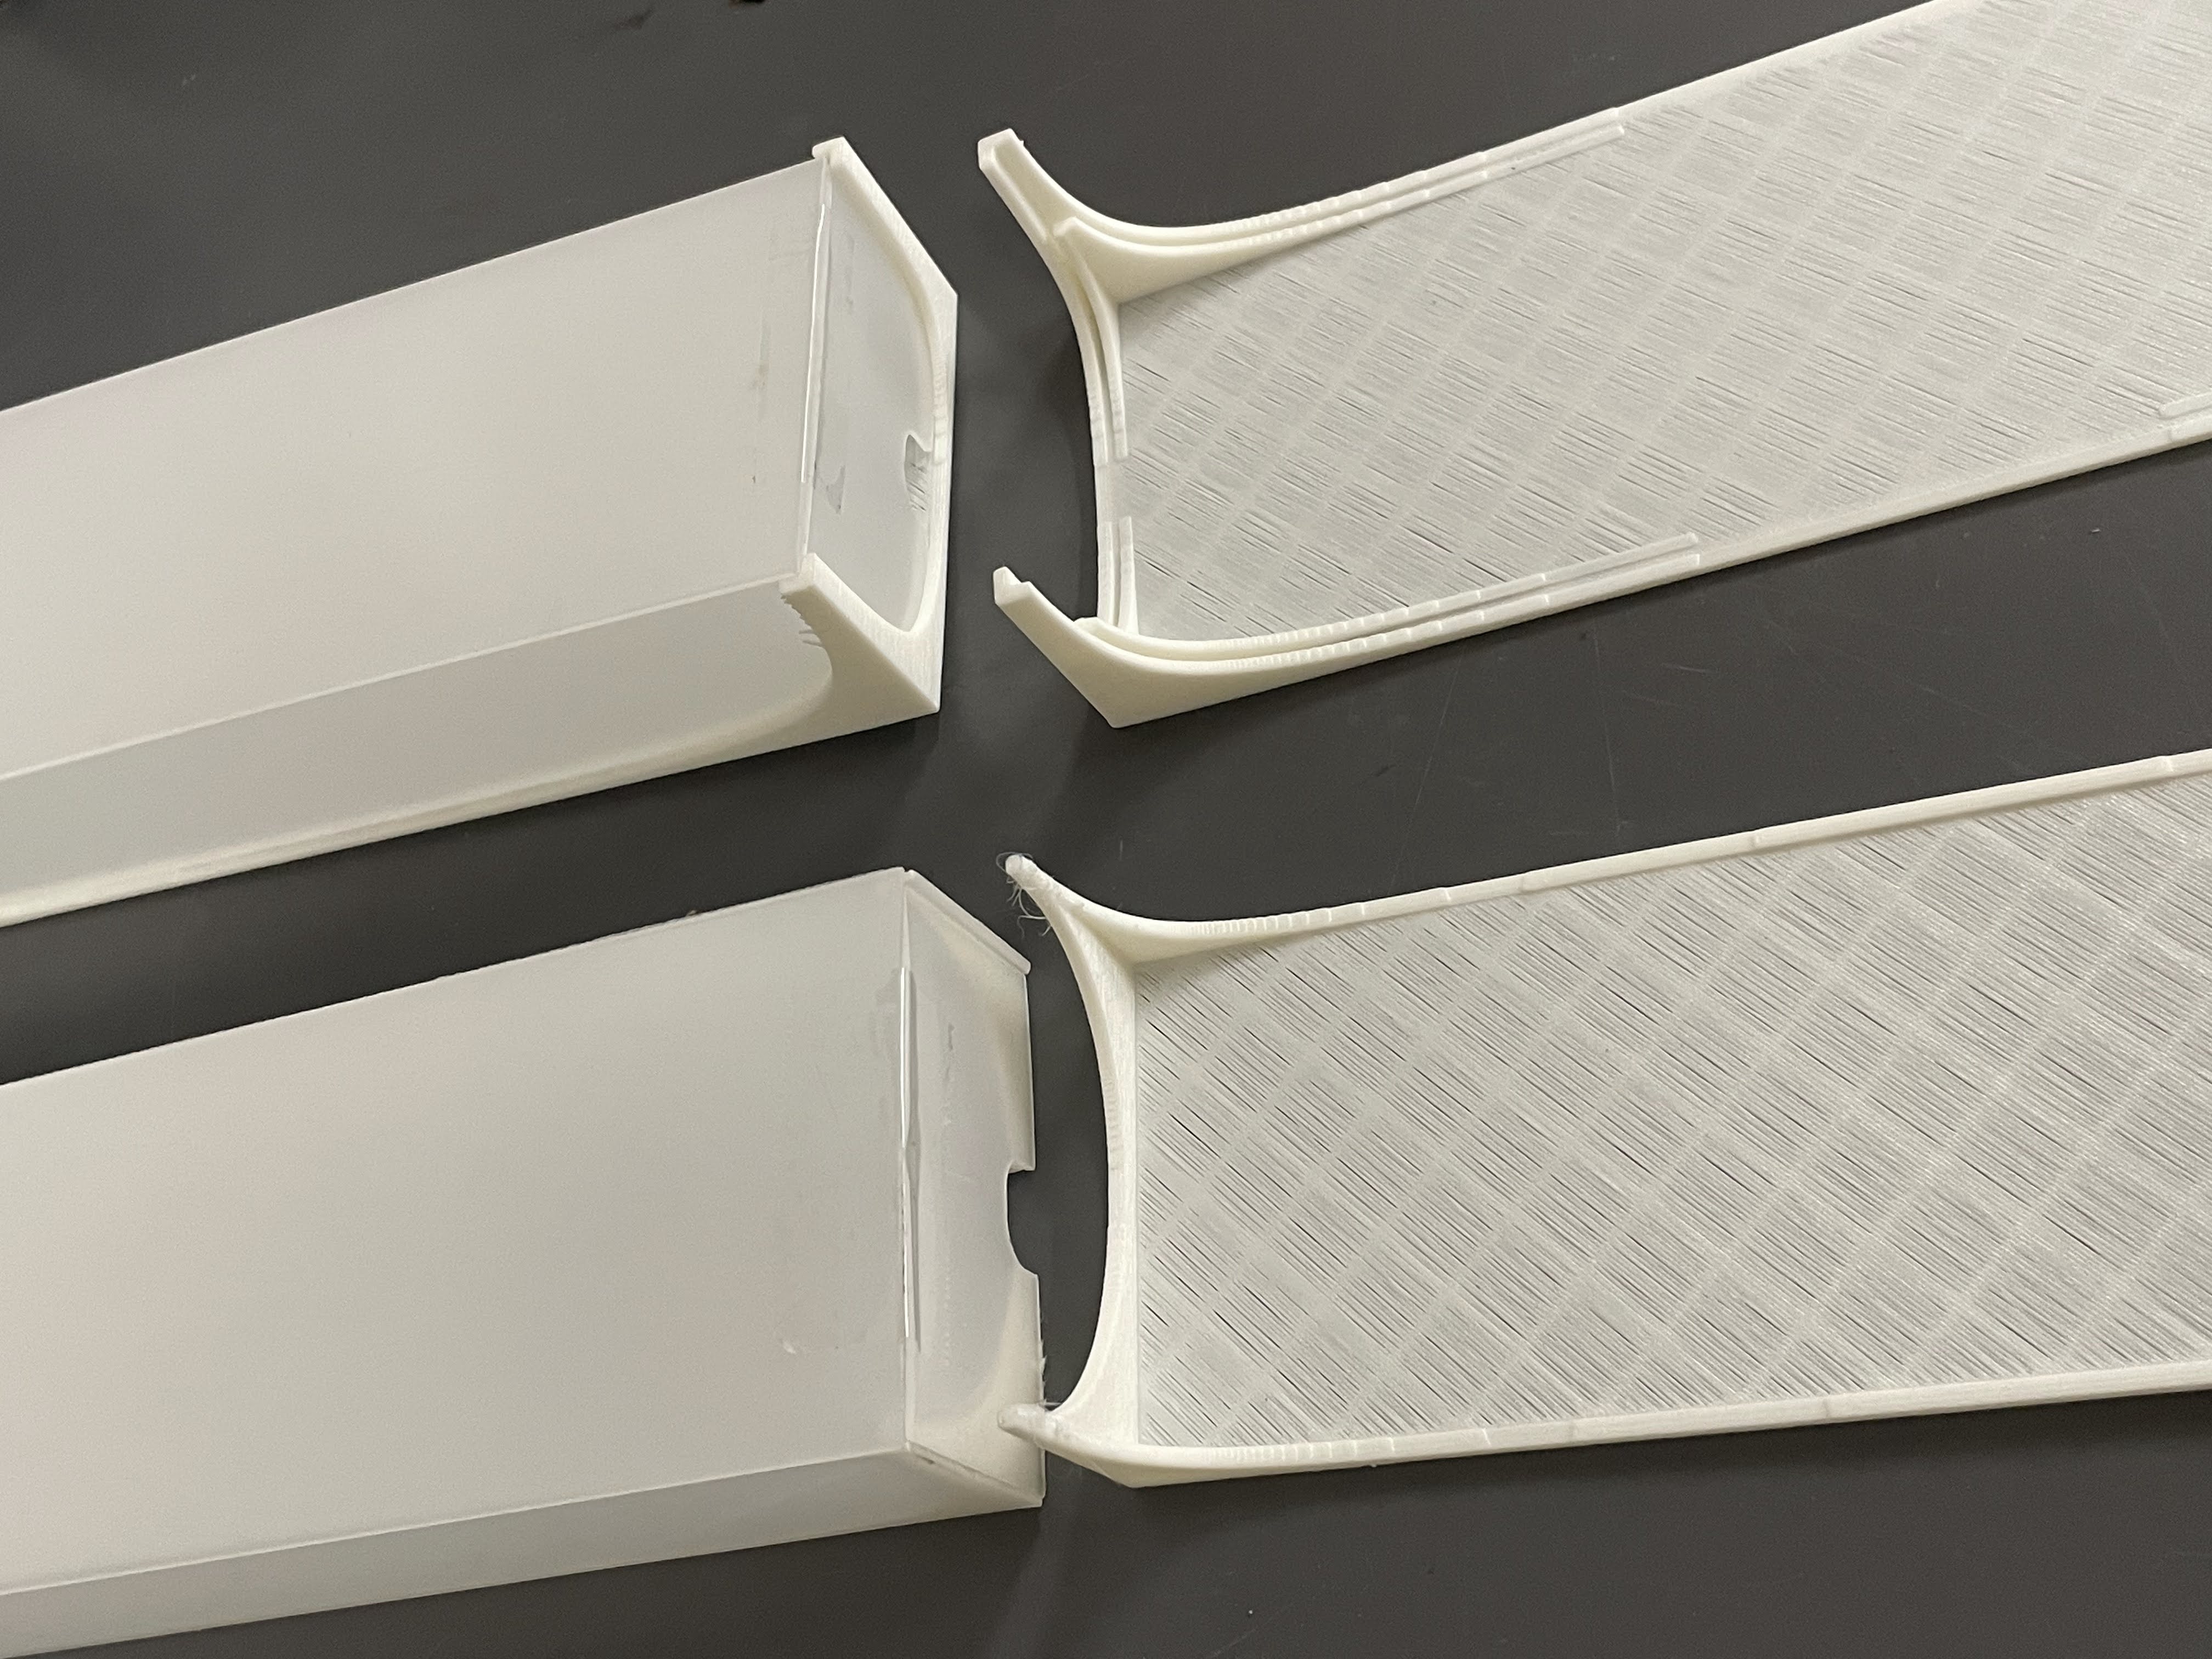
The frame is 3d printed out of white PLA. I made two versions - a frameless (2x) and framed version (3x). In the frameless version the panels were glued onto the outside. On the framed version the panels press fitted into the frame. The top (front) was taped on for both versions - a little bit of packing tape isn't very noticeable. The framed version was significantly easier to assemble and doesn't hinder the look, although I think the frameless looks more modern.
The wire coming down was a USB Micro wire - I got a 5 pack of 10 ft wires for 10 bucks on Amazon. They were hidden in some tiny cord cover. This aspect turned out pretty slick in my opinion.
Conclusion
Probably one of my more professional things I have built. Certainly a professional outcome. Building 5 was a game changer - it required me to get lazy on manufacturing methods. Great quick project that I completed in a few weeks.